How to Dye Your Kinco Mittens (Rit Liquid Dye + 5-Gallon Bucket Method)

Quick pick: If you want the “buy once, cry never” option for tow ropes, I cover the 1927KW vs 901 and what I’d actually choose in my Kinco mitten review.
If you ride rope tows, you already know why Kincos are undefeated: they take abuse and keep going. The only problem is the stock look. This is the exact method we used to dye ours using Rit Liquid Dye, a 5-gallon bucket, Cascade detergent, Morton salt, and water as hot as we could possibly make it.
Jump to: Supplies · Finished Results (After Dye) · Setup Photo (No Water Yet) · Step-by-Step · How to Keep Them Submerged · FAQ
What You Need
- Rit All-Purpose Liquid Dye (this is what we used)
- Rit All-Purpose Powder Dye (optional alternative)
- 5-Gallon Bucket
- Cascade Detergent (what we used)
- Morton Salt
- Stir Stick / Paint Stirrer
Kinco options (pick your model):
- Kinco 1927KW (classic insulated)
- Kinco 901 Rope Tow Mitt (built for tow abuse)
- Kinco 1927KWLT Lobster (more dexterity)
- Kinco 1927KWT (extra insulation)
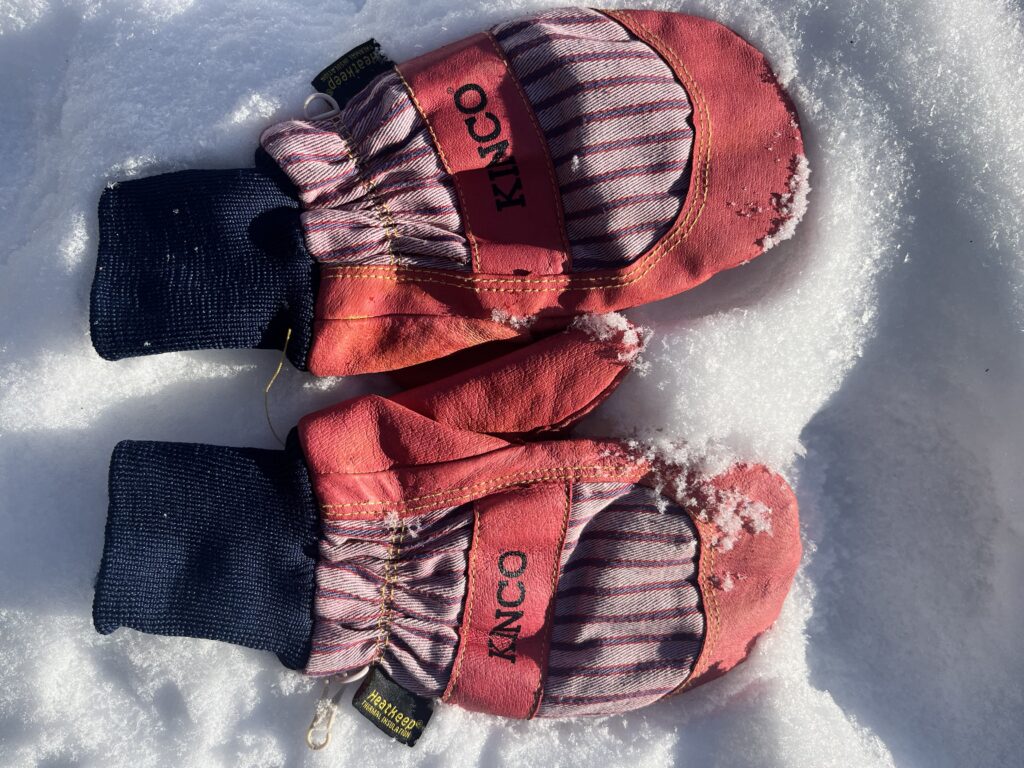
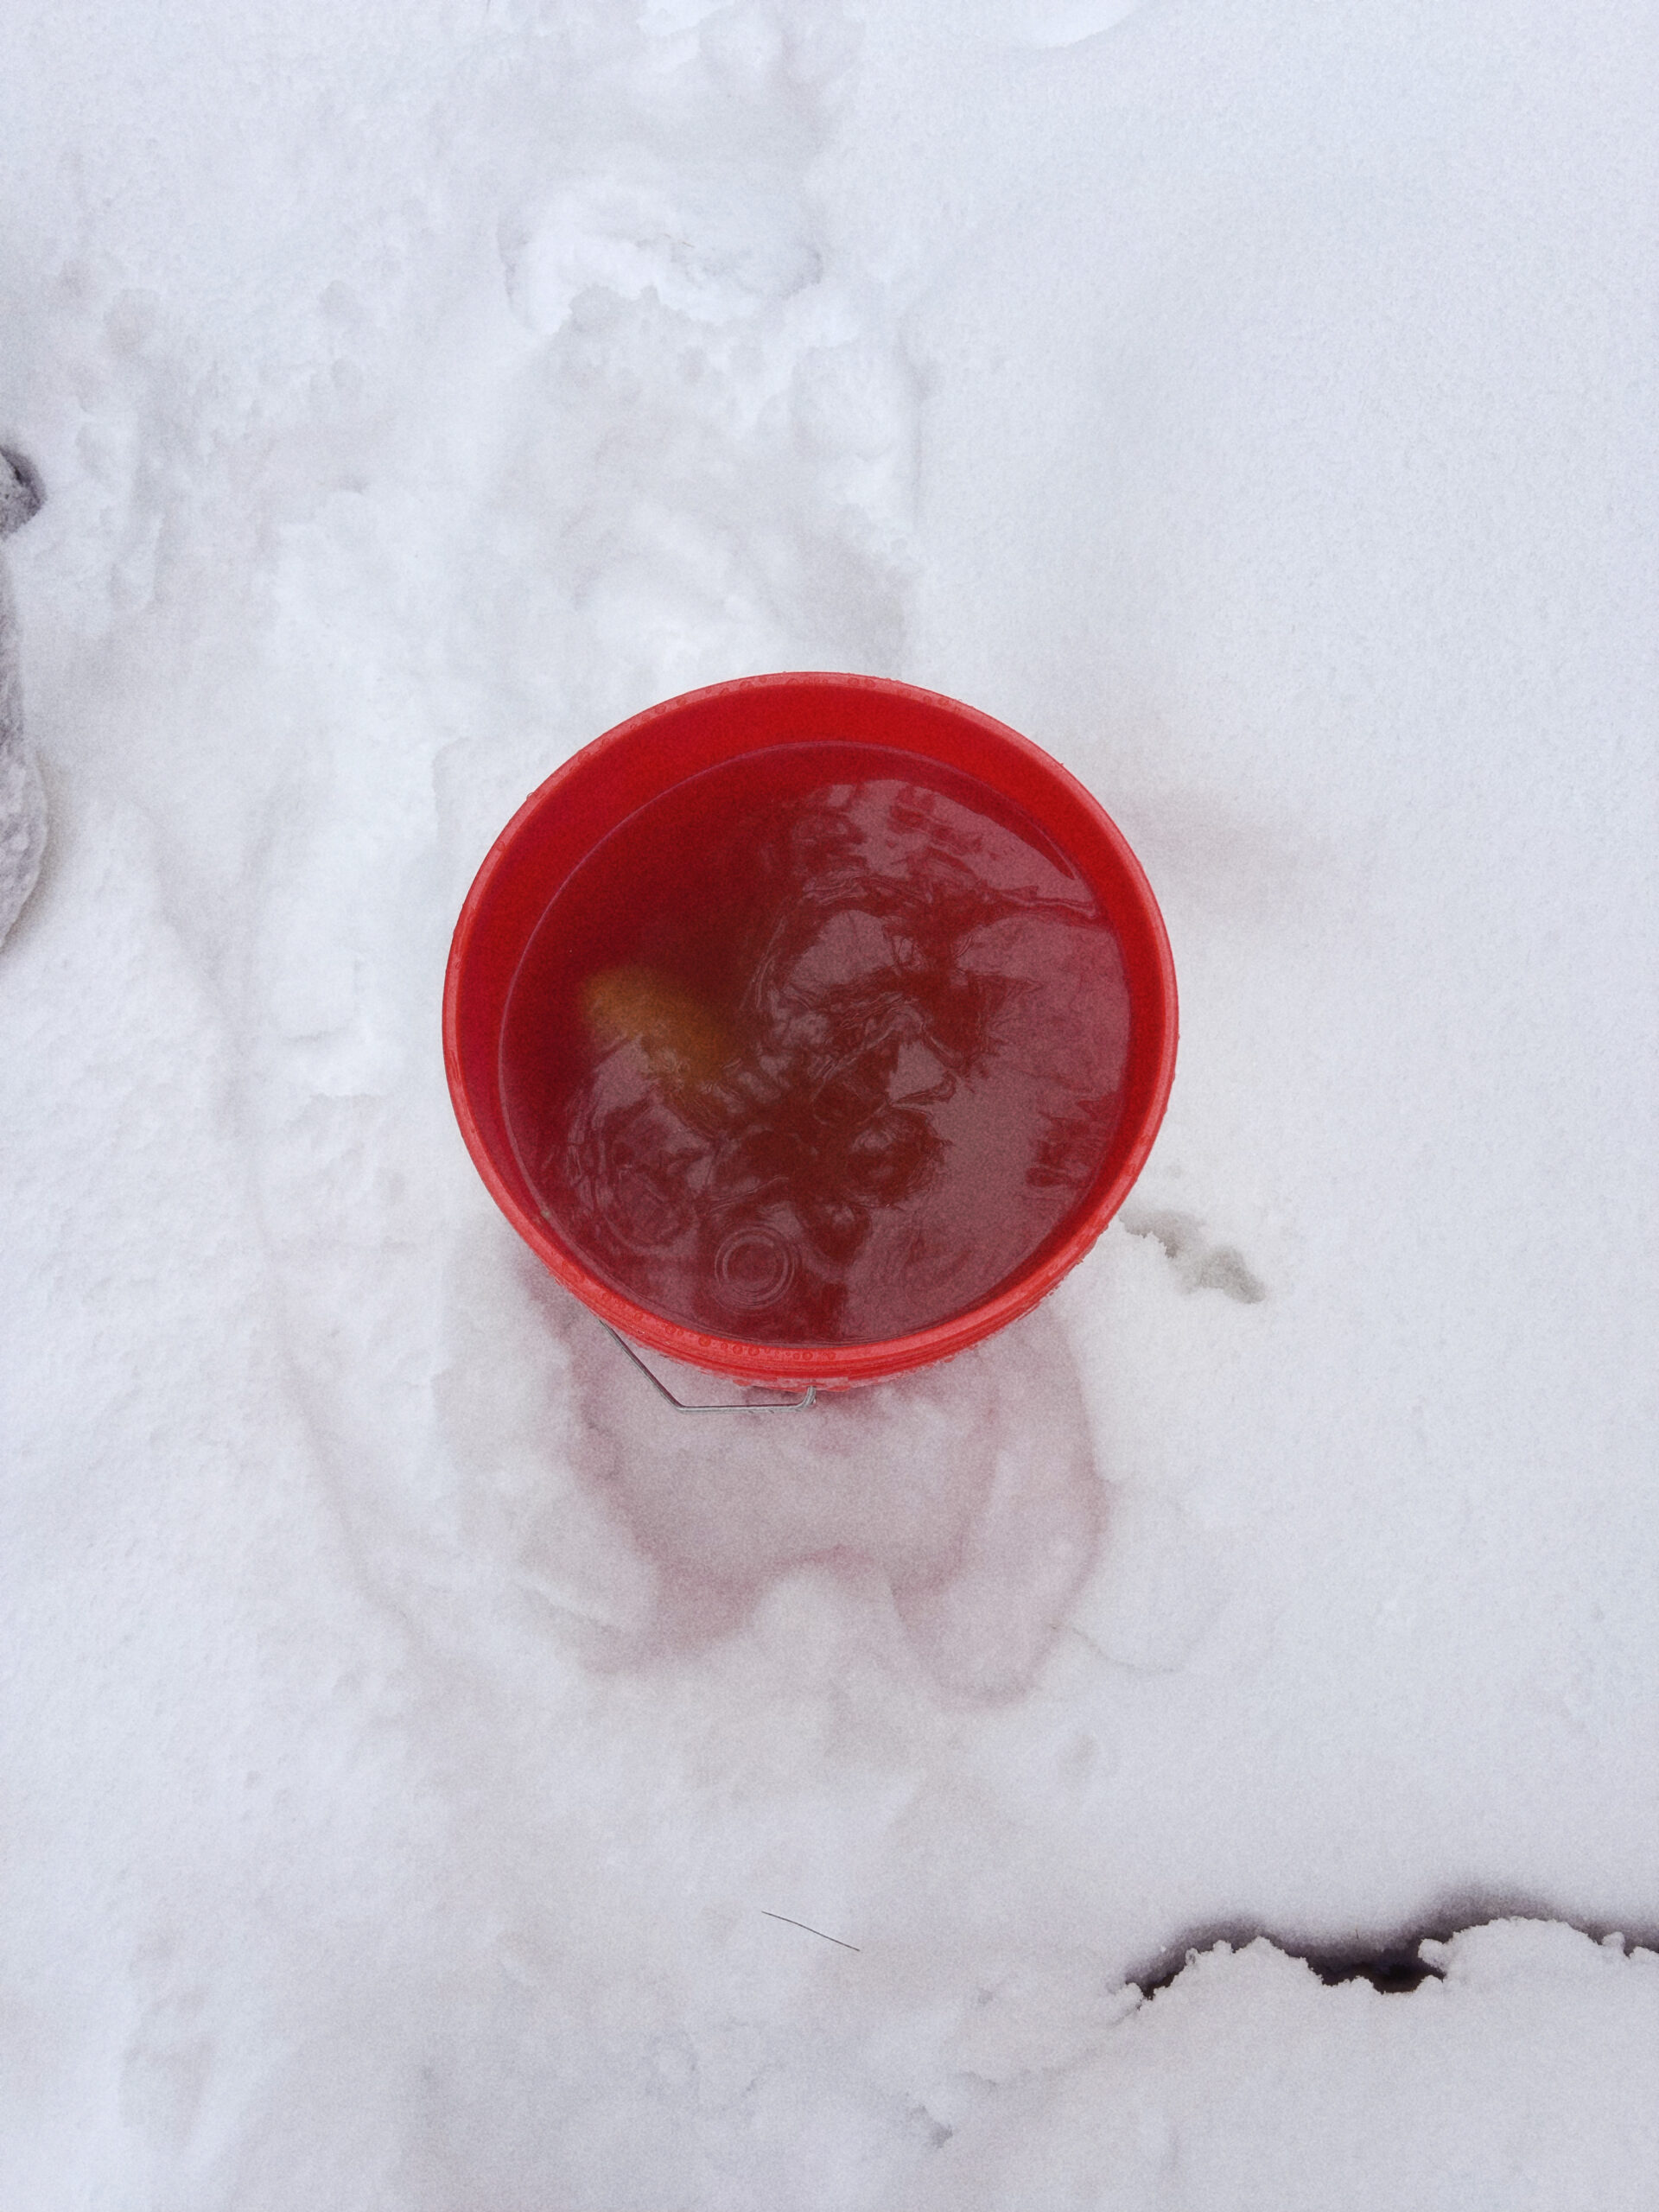
Finished Results (After Dye)
These mitten photos are after dyeing (finished look). If you want this exact vibe, the key is: keep them fully submerged and stir longer.

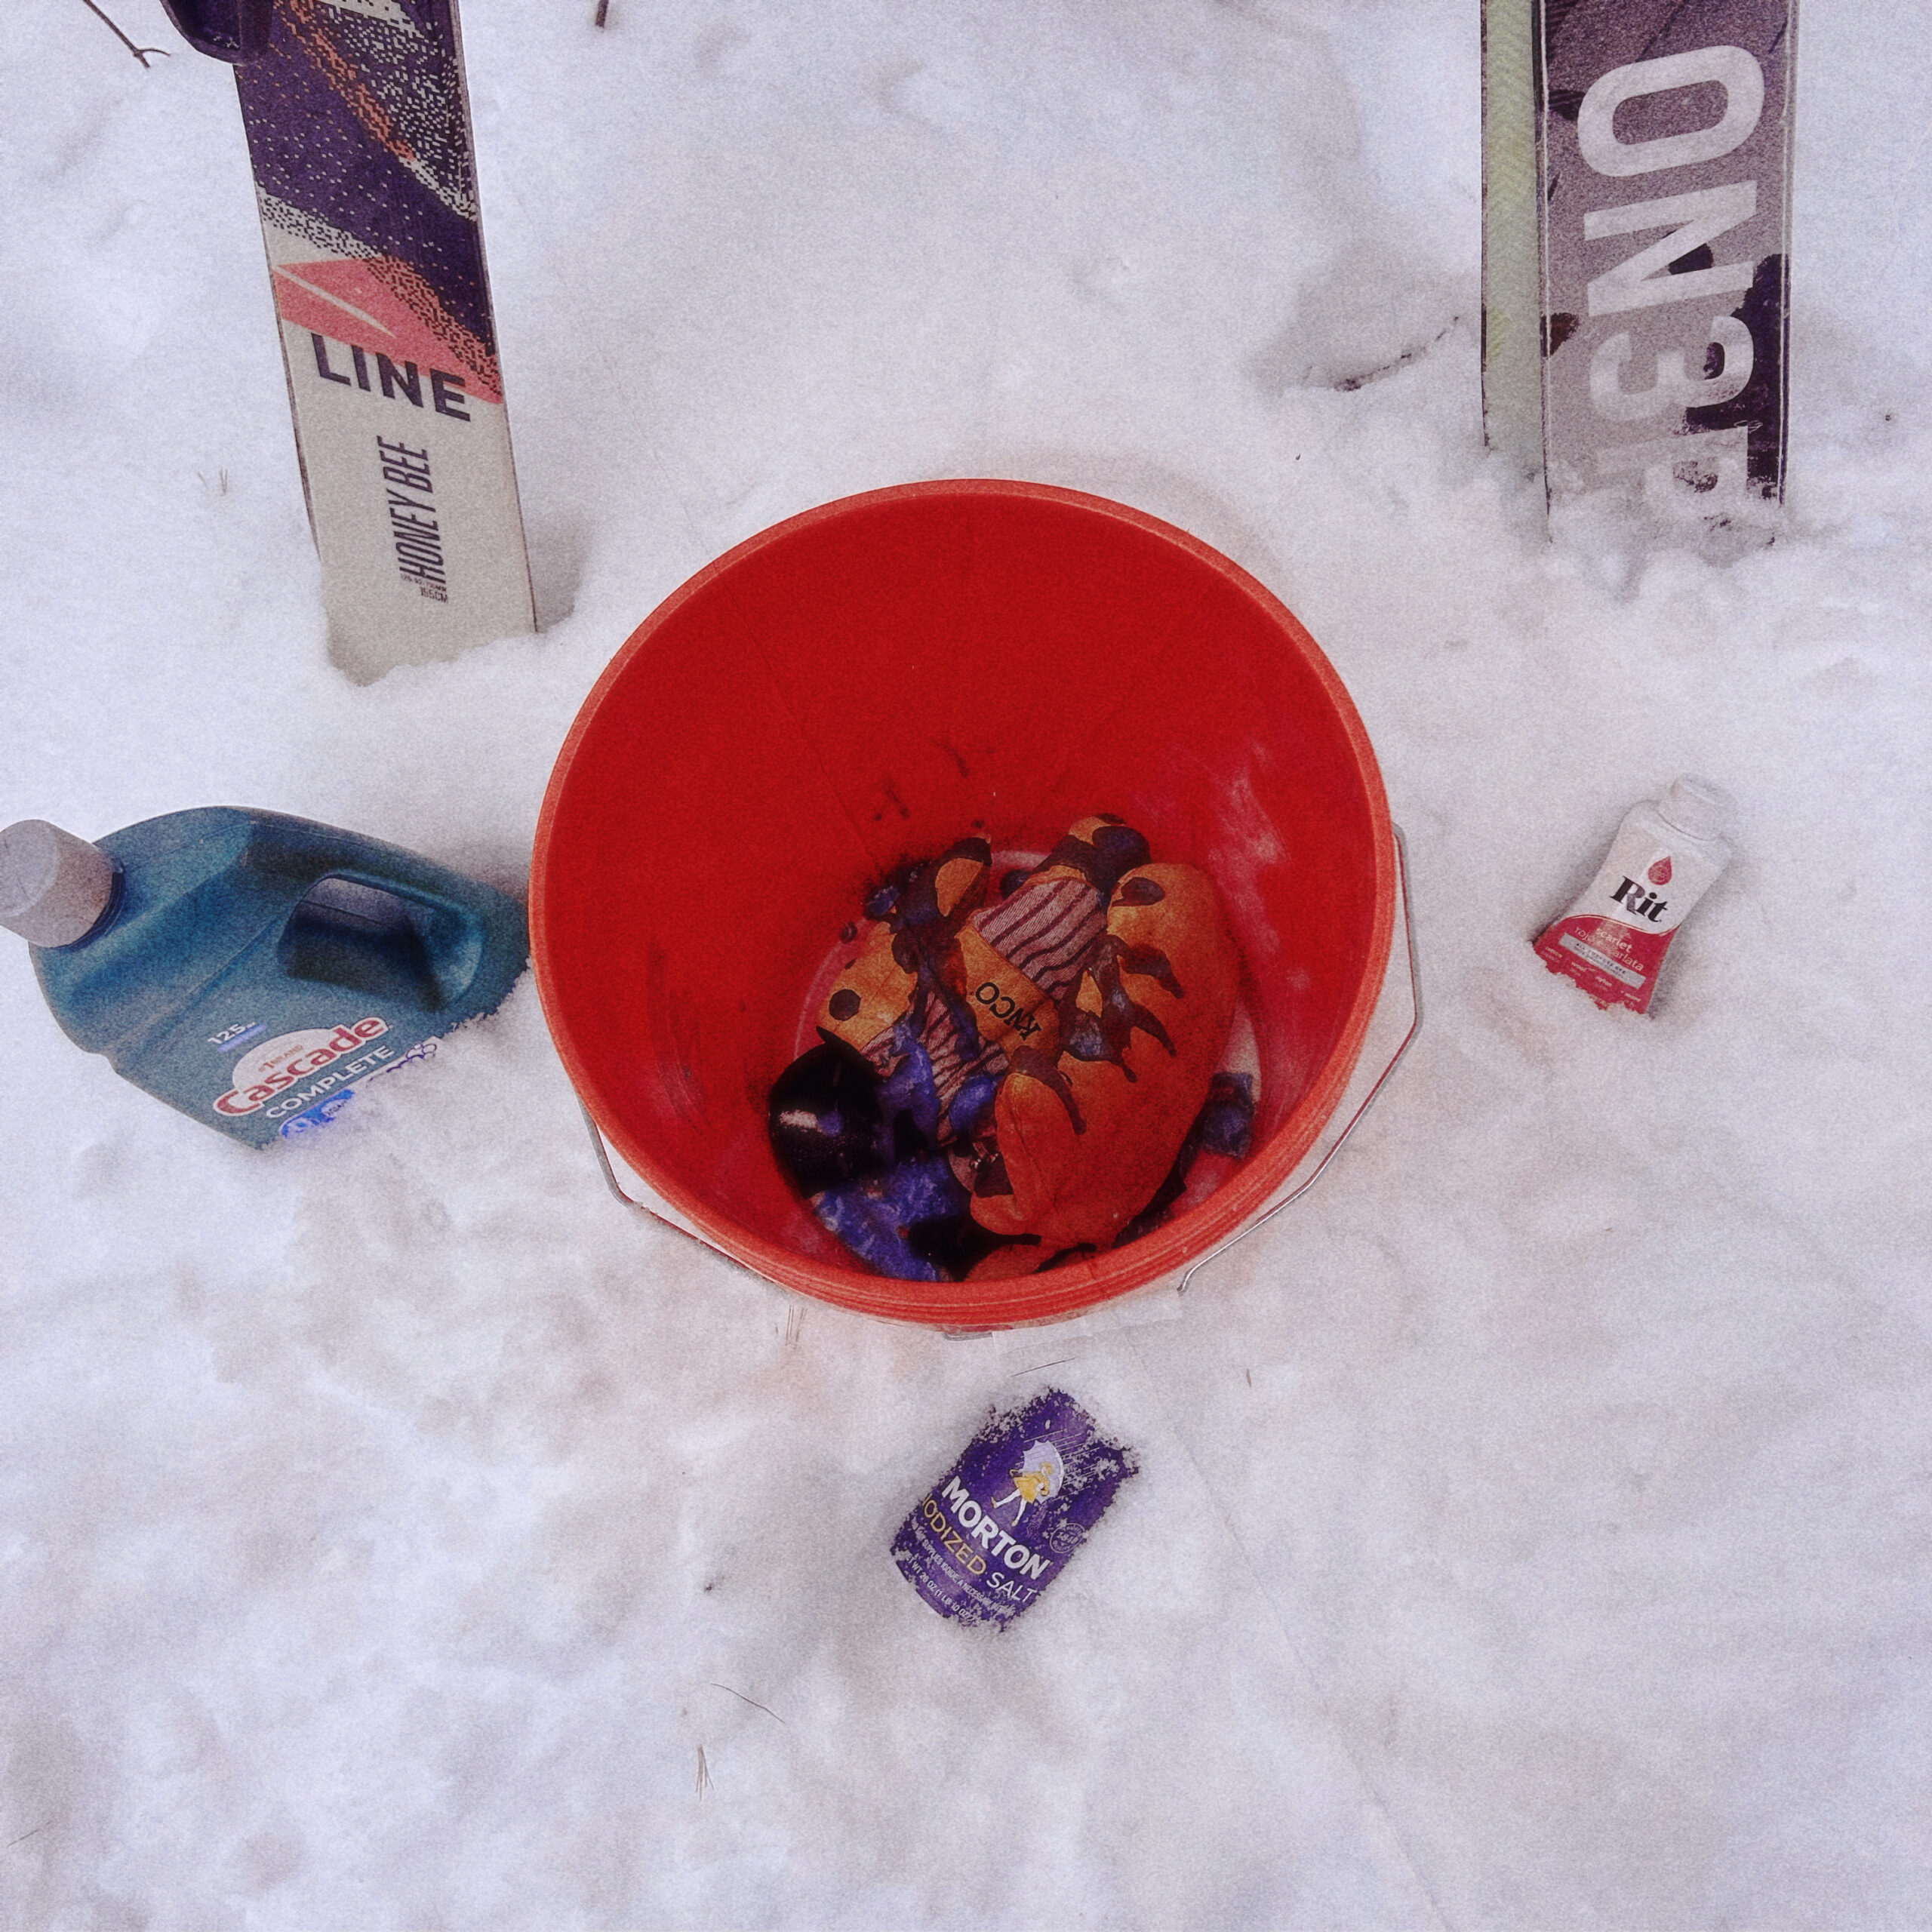
Setup Photo (Bucket Is Empty — No Water Added Yet)
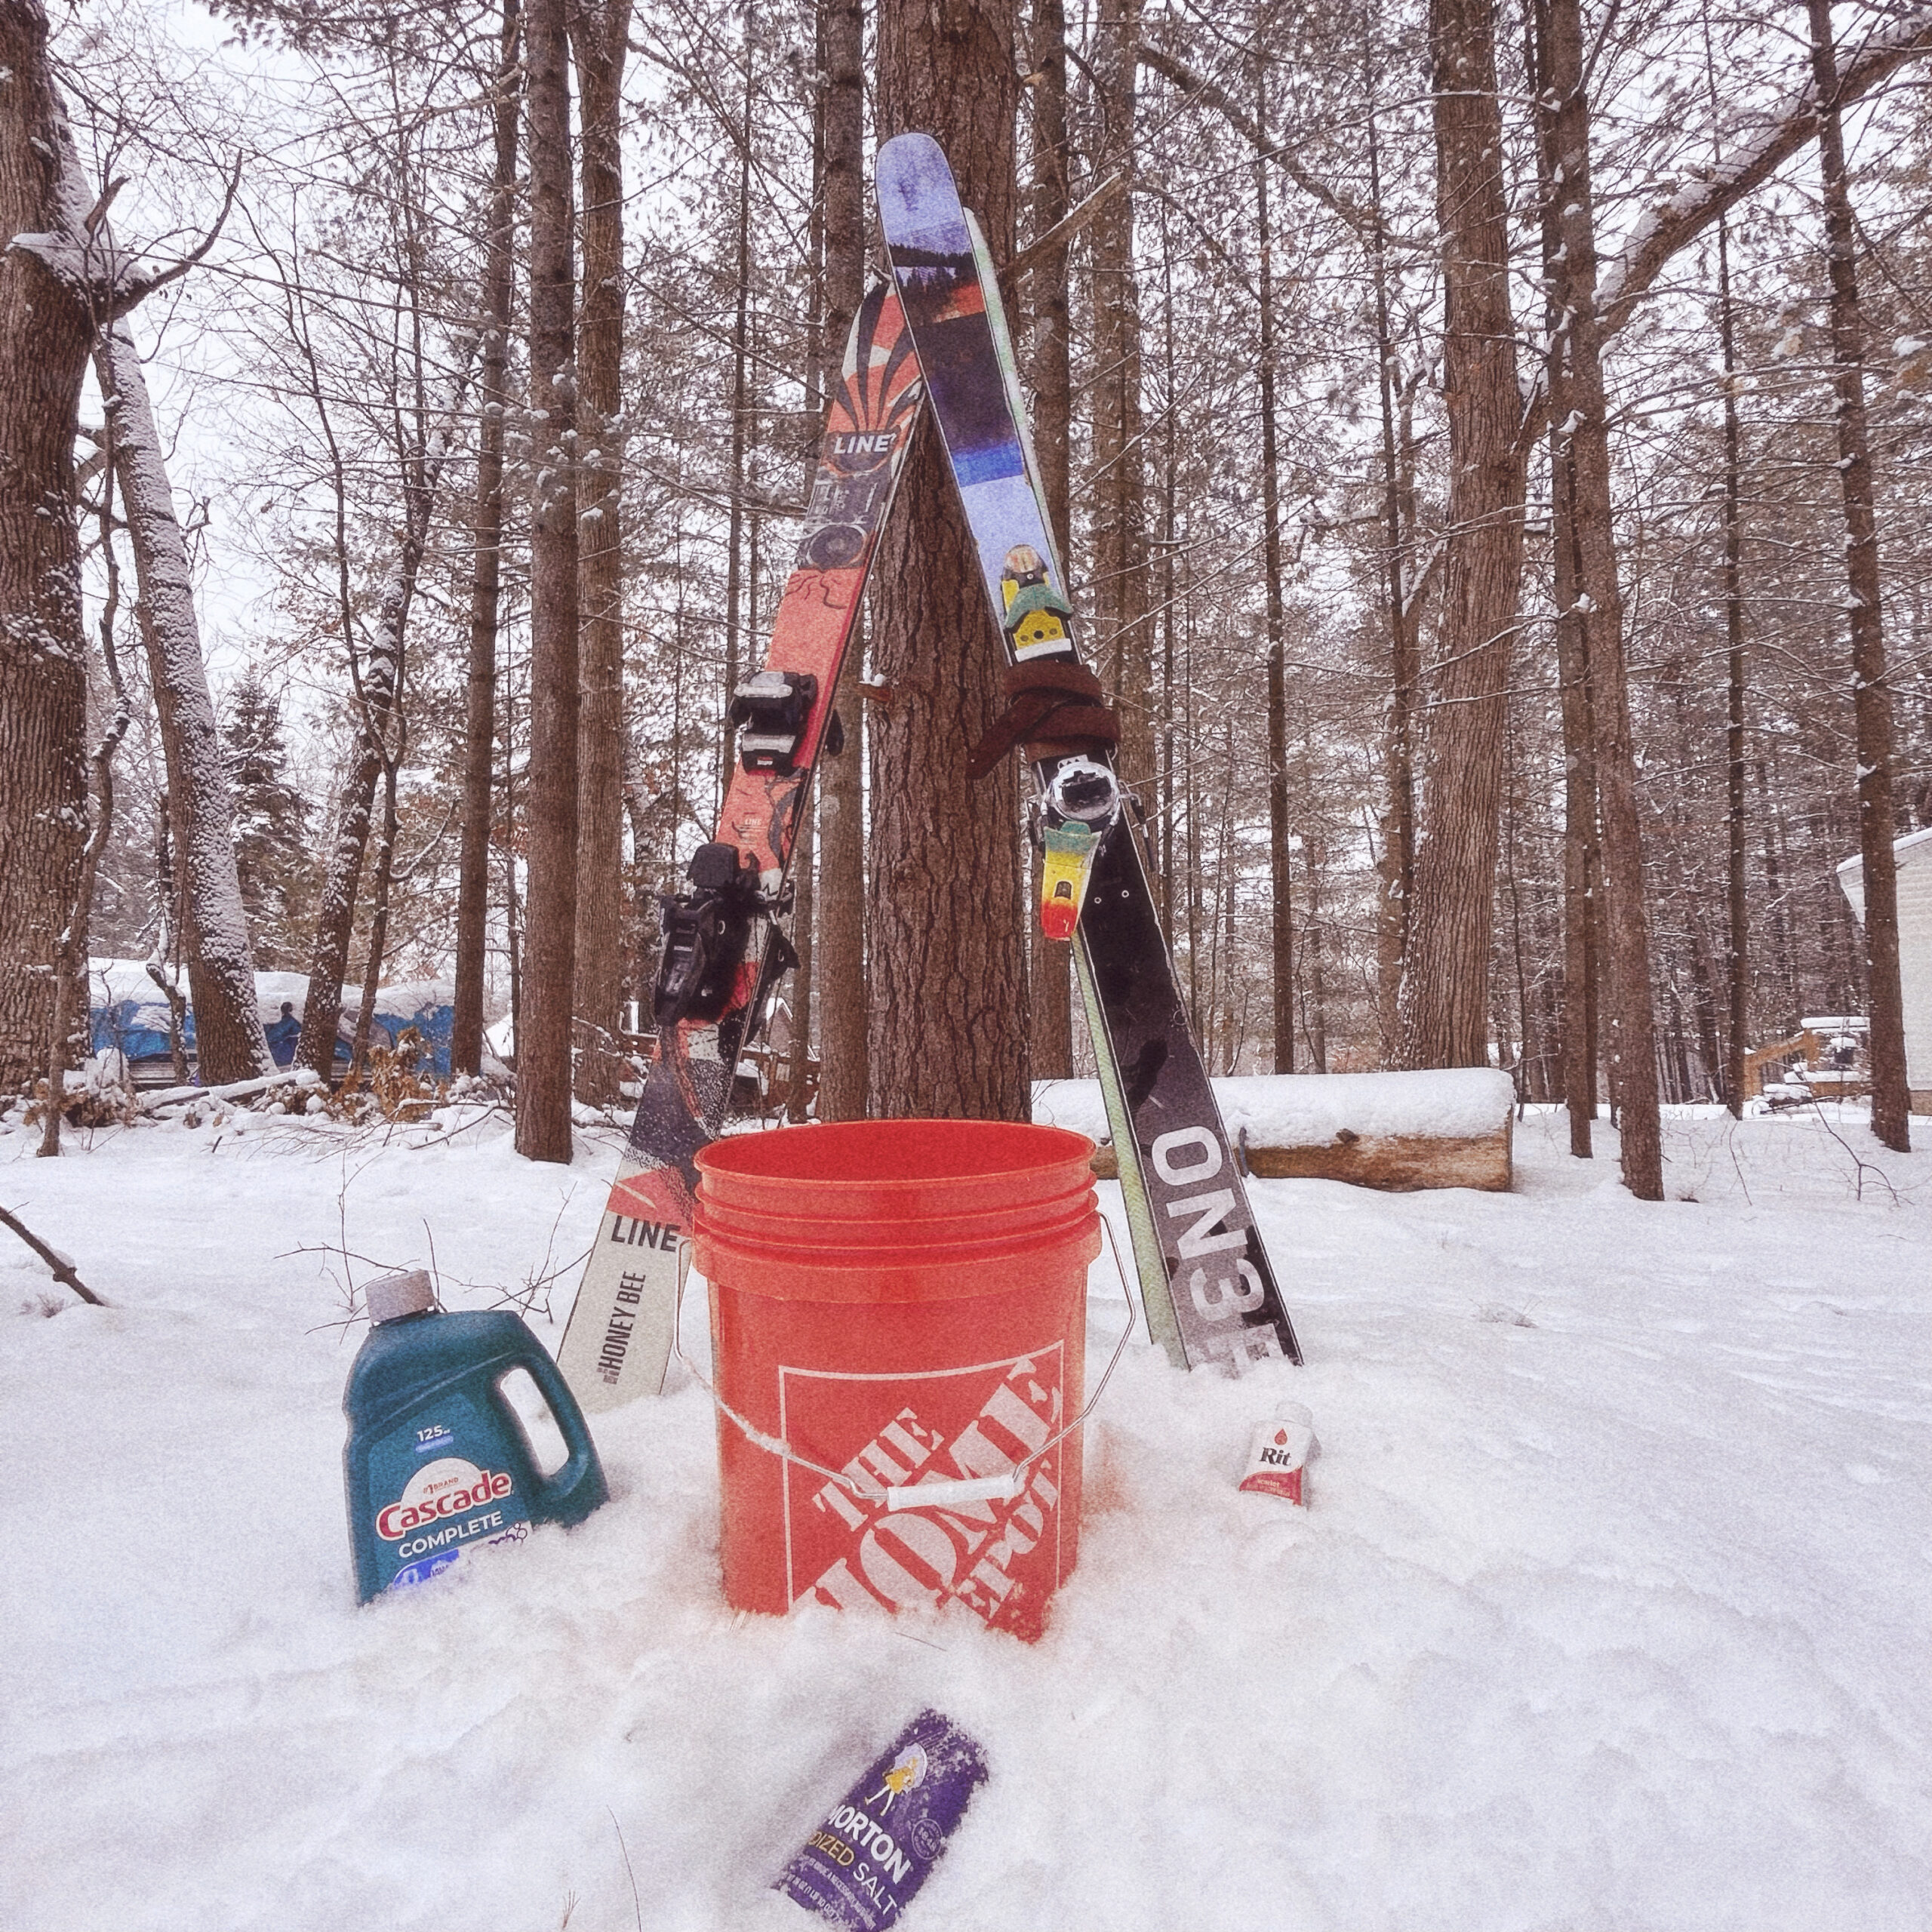
This is the smartest way to do it: stage everything first. Once you start pouring near-boiling water and dye, you don’t want to be running around grabbing supplies.
Step-by-Step: How to Dye Kinco Mittens
Order matters. The best way to avoid blotches is to get the mittens fully submerged in the hot bath before adding dye.
- Put the mittens in the bucket first. Start with the mittens in the bucket so dye never hits dry areas.
- Add Cascade + Morton salt (before the water). We added the soap and salt first.
- Add the hottest water you can possibly make. Fill enough to fully submerge the mittens. Hotter water helps the dye behave more consistently.
- Make sure the mittens are fully submerged. If they float, weigh them down (methods below).
- Now add Rit Liquid Dye. Only after the mittens are submerged do you add dye.
- Stir. The longer you stir, the more even the dye tends to look.
- Let them sit for 2 hours. We left ours for two hours.
- Rinse until the water runs clear. This is the finish line. If the runoff isn’t clear, keep rinsing.
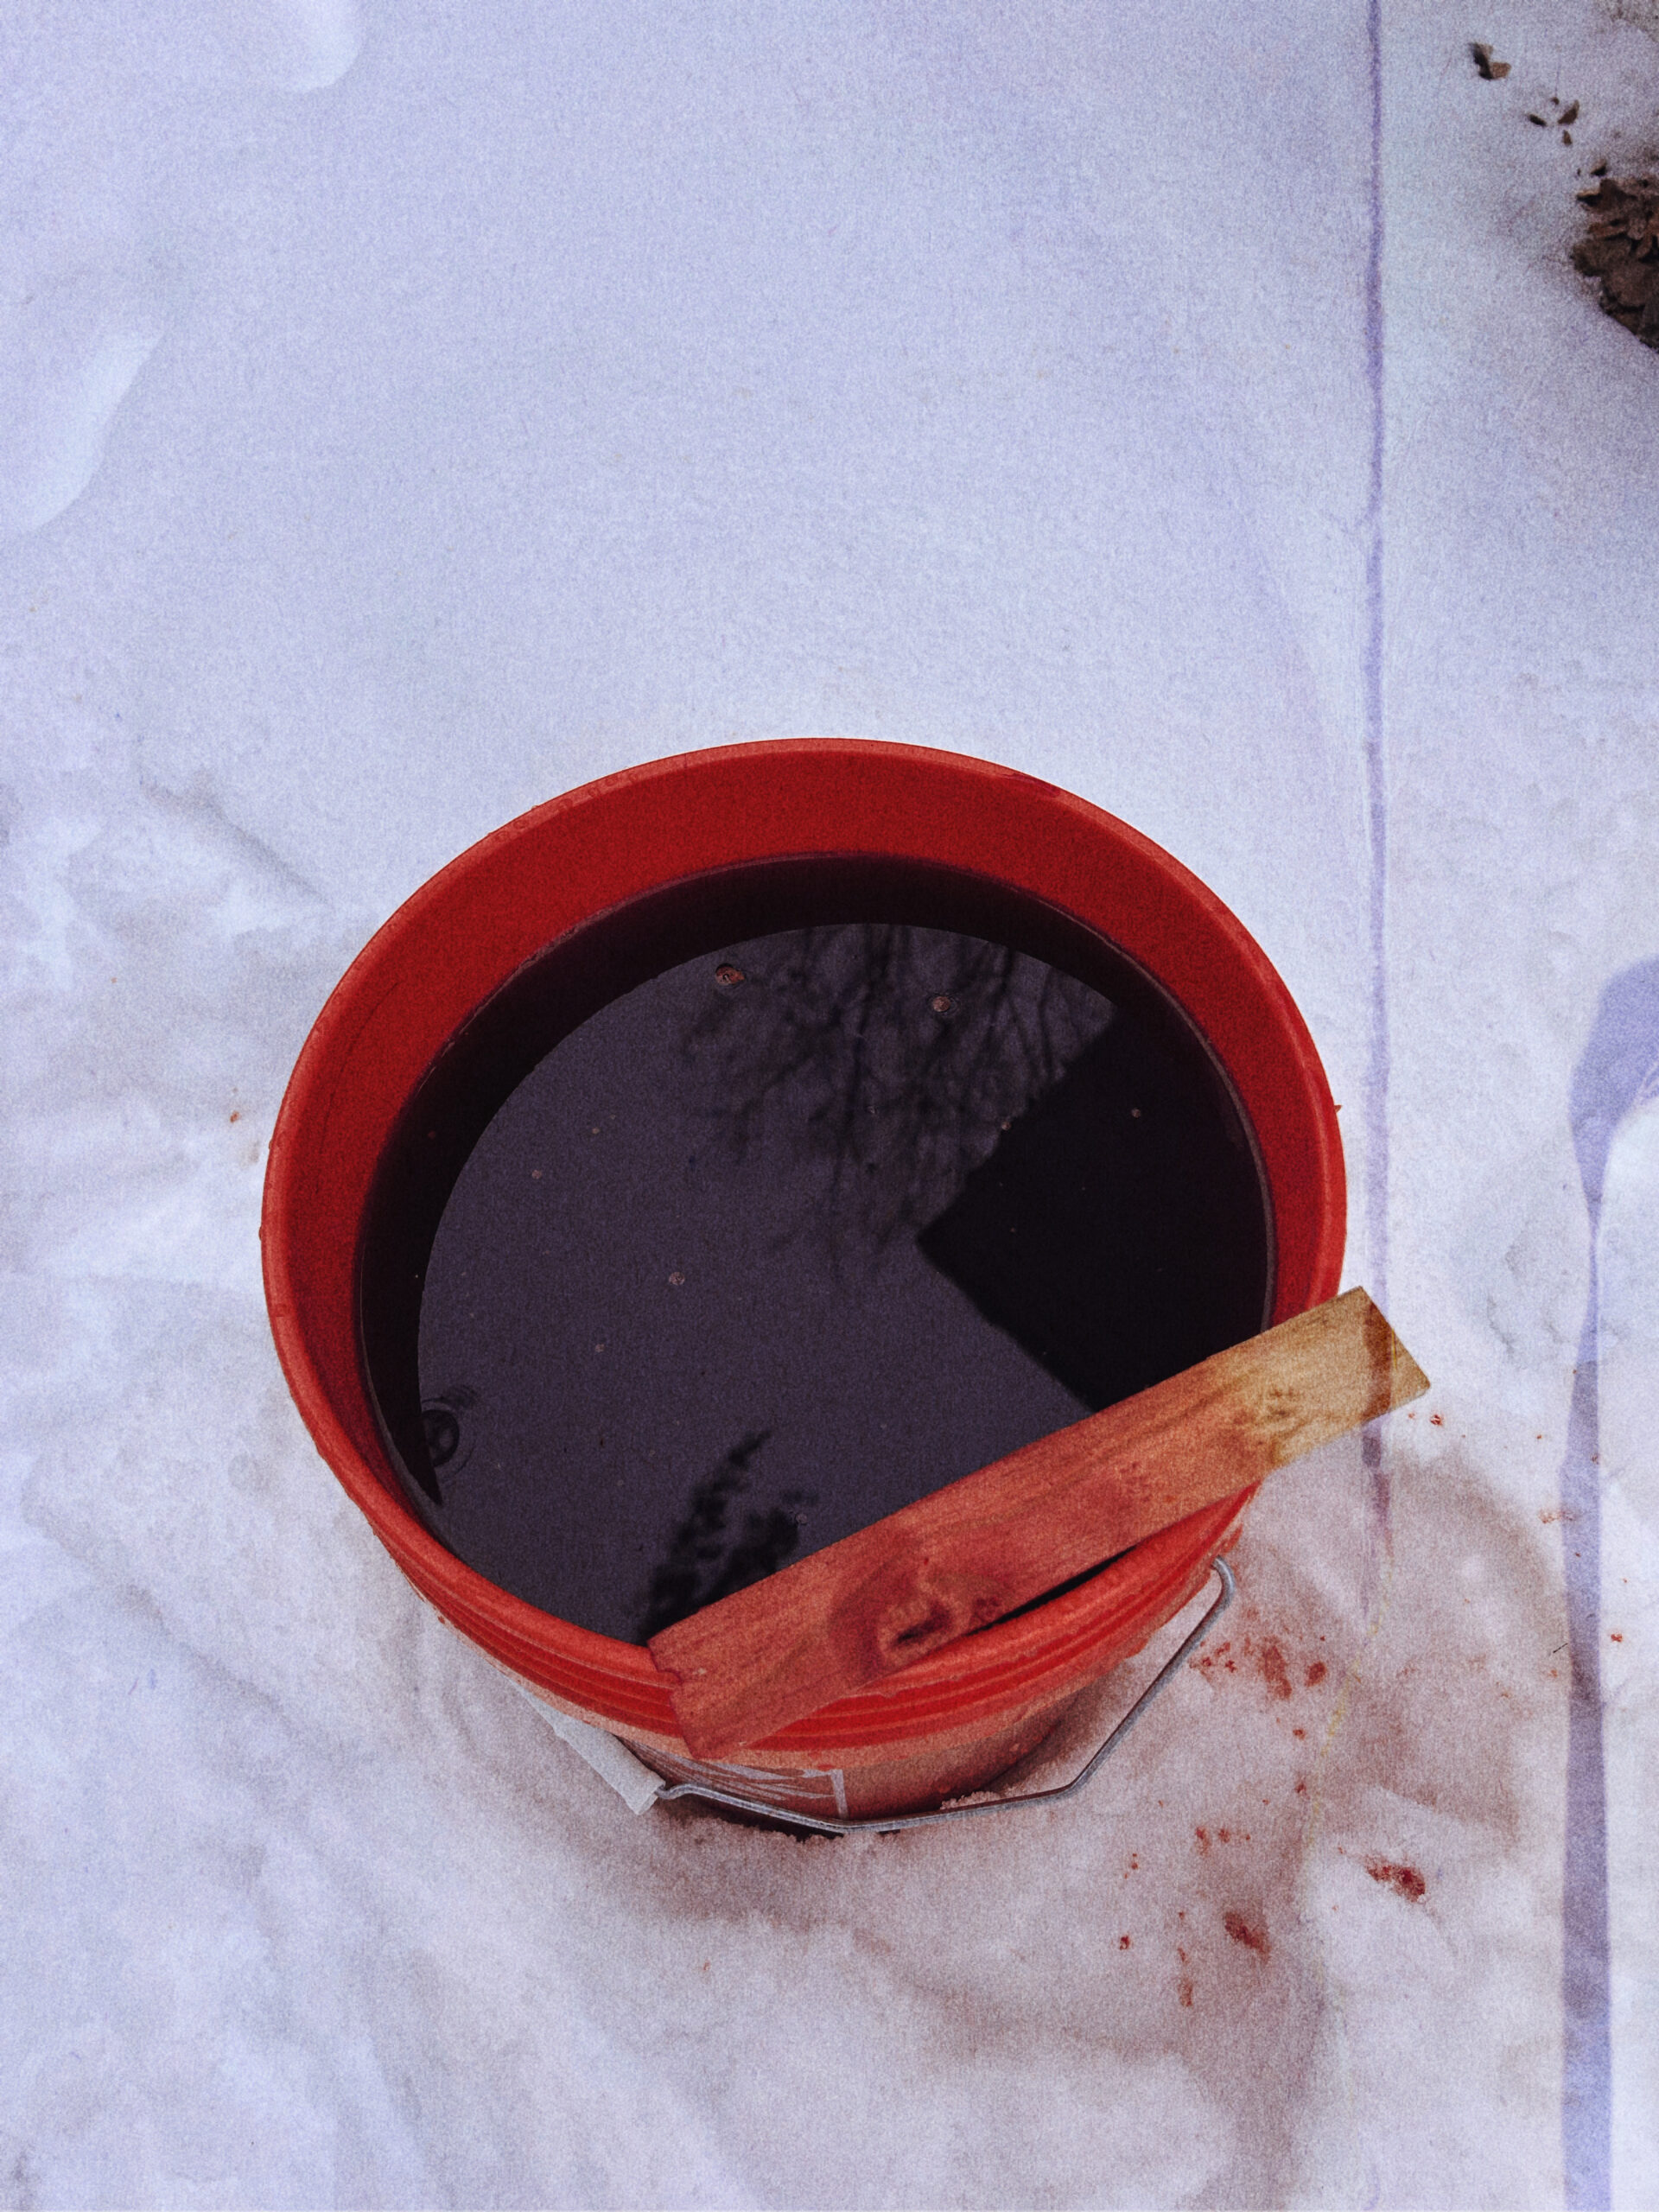
How to Keep Mittens Submerged (So They Don’t Float)
Mittens float. Floating causes uneven dye lines. Here are three “get it done” weighting methods:
Option A: Paperclip/Binder Clip + Ring Magnet (clean + adjustable)
Clip the cuff and use a ring magnet as a weight. Easy to reposition and it won’t fall apart mid-soak.
Option B: Heavy Pipe + Wire Wrap (brute-force)
Short section of heavy pipe with wire wrapped to the cuff. Not pretty, but it works every time.
Option C: Stainless Chain (easy mode)
Loop chain through/around the cuff and let gravity keep everything under.
FAQ
Liquid vs Powder Rit — which is better?
Liquid is easier to control and mix fast (that’s what we used). Powder works too, but you must dissolve it fully first. Liquid ·